Mar 22, 2012

Galaxy Nails.

Hello everyone!
Today's post is a post that I've done before, but this one is slightly different and a lot more clear!
Galaxy nails are very easy to do & so gorgeous on both long and short nails.


Paint all of your nails black.


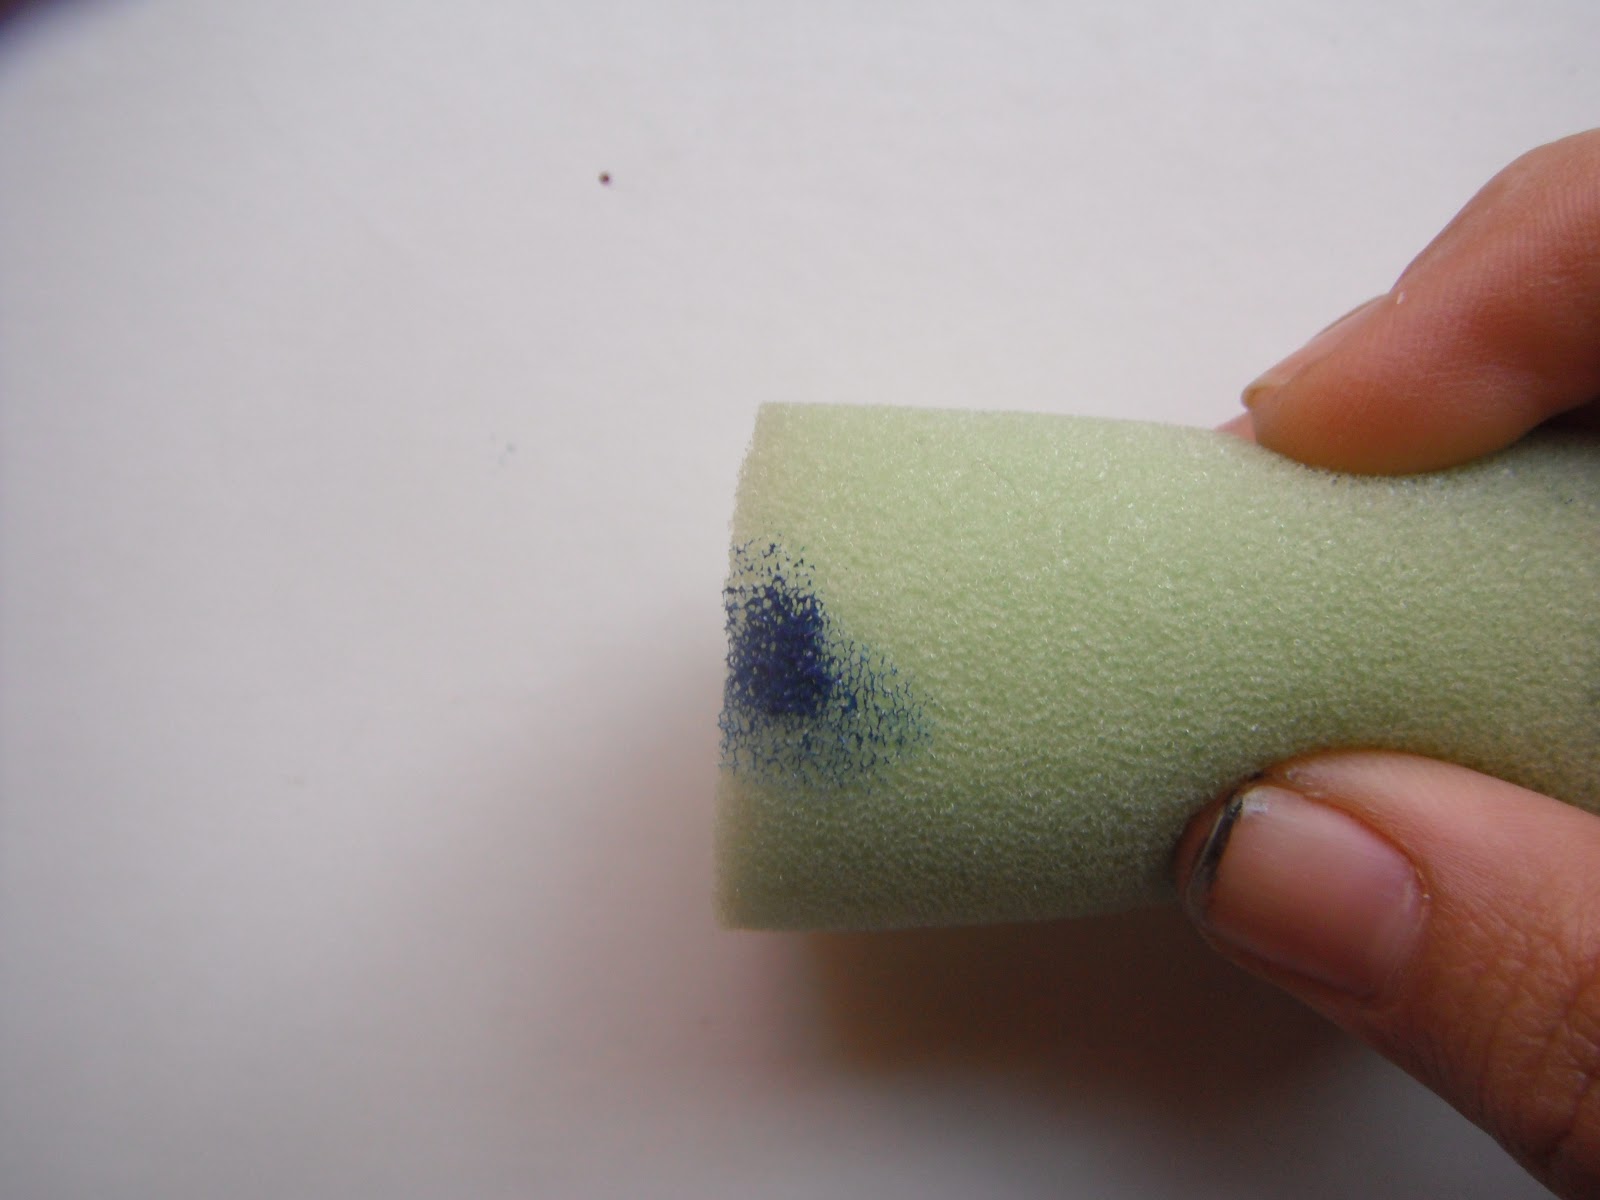
 Put some of the dark blue polish on the sponge.


Start pressing the sponge on your nail.


Put some of the light blue on the sponge.


Start pressing the sponge on your nail.


Put some of the red polish on the sponge.


Start pressing the sponge on your nail.


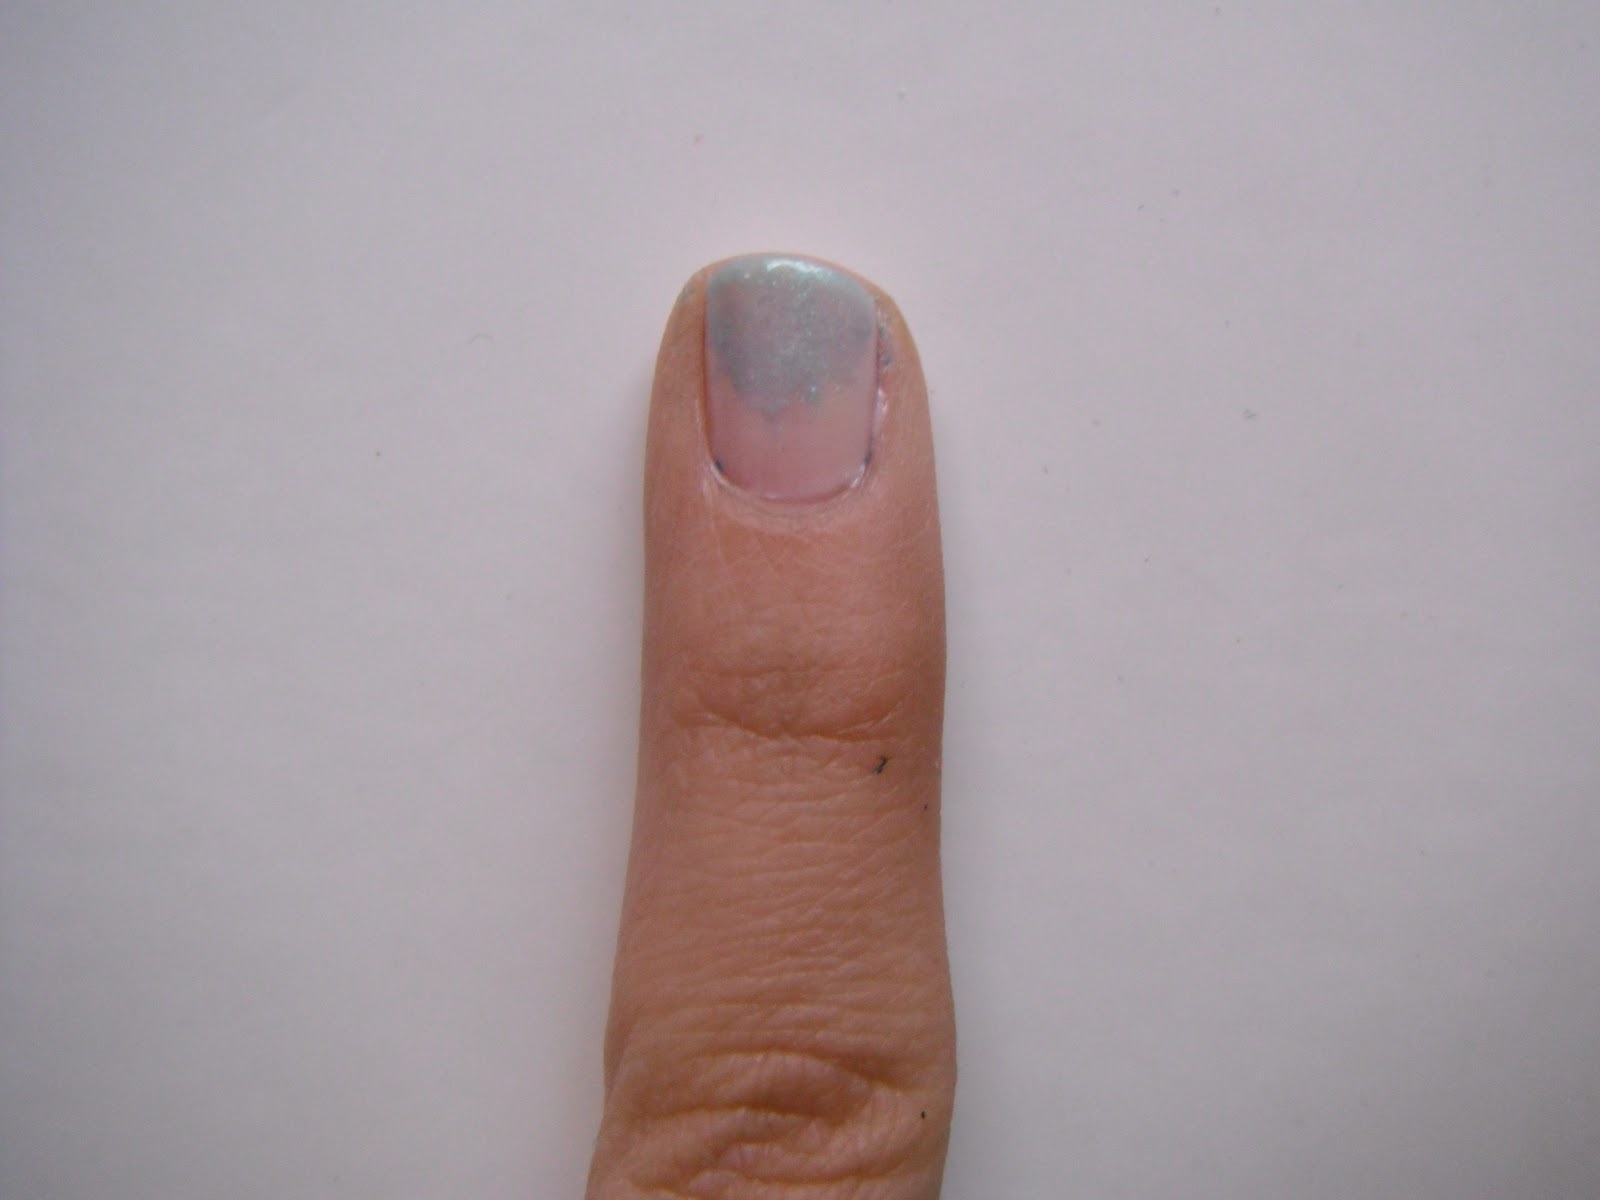
At last, put some of the gray polish on the sponge.


Start pressing the sponge on your nail.

The sponge pressing on the nail creates an awesome effect!


Apply a glittery nail polish all over your nails. The glitter will look like stars.


This is the finished look!

I hope you enjoy it. xoxo

Follow me on twitter for blog updates: @FtoonTBlog

Mar 20, 2012

Faded Blue Nails.

Hello everyone!
Today I'm going to show you how to do this pretty blue design that I've came up with using some nails stickers.
Simple beautiful & easy!


You can purchase nails stickers at beauty supplies stores here in Riyadh.

Start by applying the light pink base all over your nails.

Put some of the blue polish on the sponge,

Start pressing the sponge on top of  light pink, press lightly until it starts looking faded.

Stick on the sticker at the end of the nail and apply a top coat to protect it from falling.

This is the finished look!

xoxo

Follow me on twitter for blog updates: @FtoonTBlog

Mar 19, 2012

UK Flag Nails.

Hello everyone!
Today I'm going to show how to do this easy UK flag nail design, very fun to wear!


Start by applying the blue polsih all over your nails.


Start drawing a vertical line in the middle of your nail using a thin art brush dipped into white polish.


Start drawing a horizontal line in the middle of your nail using the pervious art brush.


Draw thin lines coming out of the lines you drew perviously.


Draw red lines on top of the white ones.


This is the finished look!

xoxo

Follow me on twitter for blog updates: @FtoonTBlog

Mar 18, 2012

Cherry Blossom Nails.


Hello everyone!
Today I'm showing how to create this easy cherry blossom nail art design.
Very easy to create!


Paint all of your nails a solid minty green color.


Use a thin art brush, dip it into some black polish and start creating many branches for the tree.


 This is how the branches should look like once you're done. Repeat the same step on all of your nails.


 Start dotting pink dots on the branches randomly.


 This is how it should look like once you're done. Again, repeat this step all over your nails.


Start dotting light pink dots inside of the pink dots you dotted on perviously.

 Create tiny lines with a thin art brush dipped into a black polish.


 Finish it off with glossy top coat!

xoxo 
Follow me on twitter: @FtoonTBlog

Mar 12, 2012

The Cloud Dress: Oscar de la Renta

 Oscar de le Renta is one of the world's leading fashion designers. Trained by Balenciaga, he became internationally known in the 1960s as one of the couturiers to dress Jacqueline Kennedy. An award-winning designer, he worked for Lanvin and Balmain; his eponymous fashion house continues to dress leading figures, from film stars to royalty, into the 2010s. De La Renta is particularly known for his red carpet gowns and evening wear. 
He is my favorite designer, I'm always fascinated by his astounding designs.
About 2 weeks ago, 72 hours before the first look was to roll down the runway, Oscar designed this dress, the atelier team put it together. It's called "The Cloud Dress" a silver rosé tulle draped gown.
One of the most outstanding desgins I've ever seen, it's beyond beautiful!


 xoxo

Mar 3, 2012

Vintage Nail Art.

Hello everyone!
I find vintage designs fascinating and very beautiful. So I decided to show you how to create this beautiful, eye catching nail art design.


Start by applying the minty green color all over your nails except for one nail. Paint the nail white.

Using a thin art brush draw red verical lines all over your nail

For your middle finger, use a dotting tool or a bobby pin and dot on red dots all over the nail.
When you're done dotting wait for it to dry then apply a clear glittery nail polish.

Move to your ring finger, start drawing large dots using the nail polish's brush.

Start drawing curved lines around the dot like it's shown in the picture.

Draw the second line.

Draw a thin line inside the dot. Repeat the same process all over thw dots.

Using a thin art brush start drawing the leaves with thw dark green polish.

On your pinky finger, dot on large white dots.

Then dot on red dots inside the white ones.

Finish off your nails by applying a clear top coat to protect the design.

I hope you enjoy this, & have a good day. xoxo